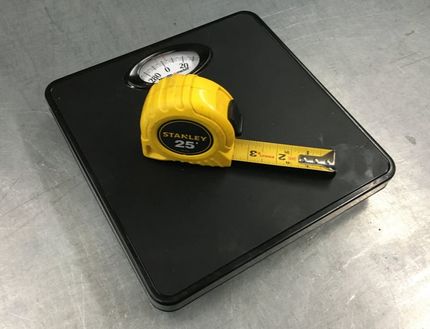
Why Scales Do More Harm Than Good
|
As you might know, no two tape measures are created equal. If you only use one tape measure when you do a job or project, and you want to increase your accuracy in a fast and easy way, then this article is for you.
If no two tape measures are created equal than no tape measure and scale will ever be created equal too. If easy accuracy is what you desire, why take the time to use a pre-installed scale on a saw fence, or install your own scale, when the tool you use to start making measurements is the tape measure. You wouldn’t take your scale off to measure dimensions away from your saw, so why add it into the mix? If you start using multiple measuring tools you add additional variables that can start stacking up against you in the long run if you need to be within a 1/32” Consistency is king when accuracy is desired. To keep things consistent with minimal time and effort, one must keep it simple. Take dimensions for your cut list with your tape measure, then set your saw stops with the same tape, then double check the nicks, trim, and final cuts with the same tape. When you use this philosophy for accuracy and end up with unexpected results, one positive note is you will have fewer things to question when you ask what went wrong. A simple solution is a lot closer when you keep it consistent and keep it simple. Instead of feeling stumped, you can run down your procedure and double check your initial dimensions, double check your stops, and double check your material. When you use one measuring tool you don’t have to worry about tool calibration. |
How We Use A Saw to Cut Material 24"
Step 1: Bump the tape measure against the saw blade and measure out 24” on the saw fence strut rail (if you have a Zero Clearance you can hook the tape. A must have for long measurements)
Step 2: Bring a Flip-Away Stop to 1/32” - 1/16” greater than 24” and lock it down
Step 3: shuttle material to the stop and make a nick deep enough so all the saw teeth make contact
Step 4: Measure the material to the nick.
Step 5: adjust the gold hex bolt in the amount you are over. One full turn = 1/16” Three flats = 1/32”
Step 6: Flip the material over and make a new nick and measure it, adjust if needed.
At this point the Flip-Away Stop should be dialed in to the exact measurement we needed, true to the tape measure we are using while doing the job. There is no fuzz factor only the consistency of a single measuring tool.
Implement this setup on a DeWalt Miter Saw Stand using the EZ Speedy Fence System

